Showing posts with label trivet. Show all posts

patchwork trivet {a tutorial}

A while back I had a plan for a new improvish sort of quilt. I made one block and stalled, not knowing which direction to go.


And then I came across Michelle's lovely patchwork coasters which gave me an idea. I decided to scrap the quilt idea and turn this lonely block into a trivet. I know, it does sound strange to start with an idea for a quilt and end up with a trivet, but at least I'm not stuck with yet another orphan block :)


I couldn't even believe how quickly I was able to turn into something useful as well as pretty. Now, in case you'd like to turn some of your orphan blocks into trivets (or coasters if your blocks are smaller), here's how to:

***********************************************

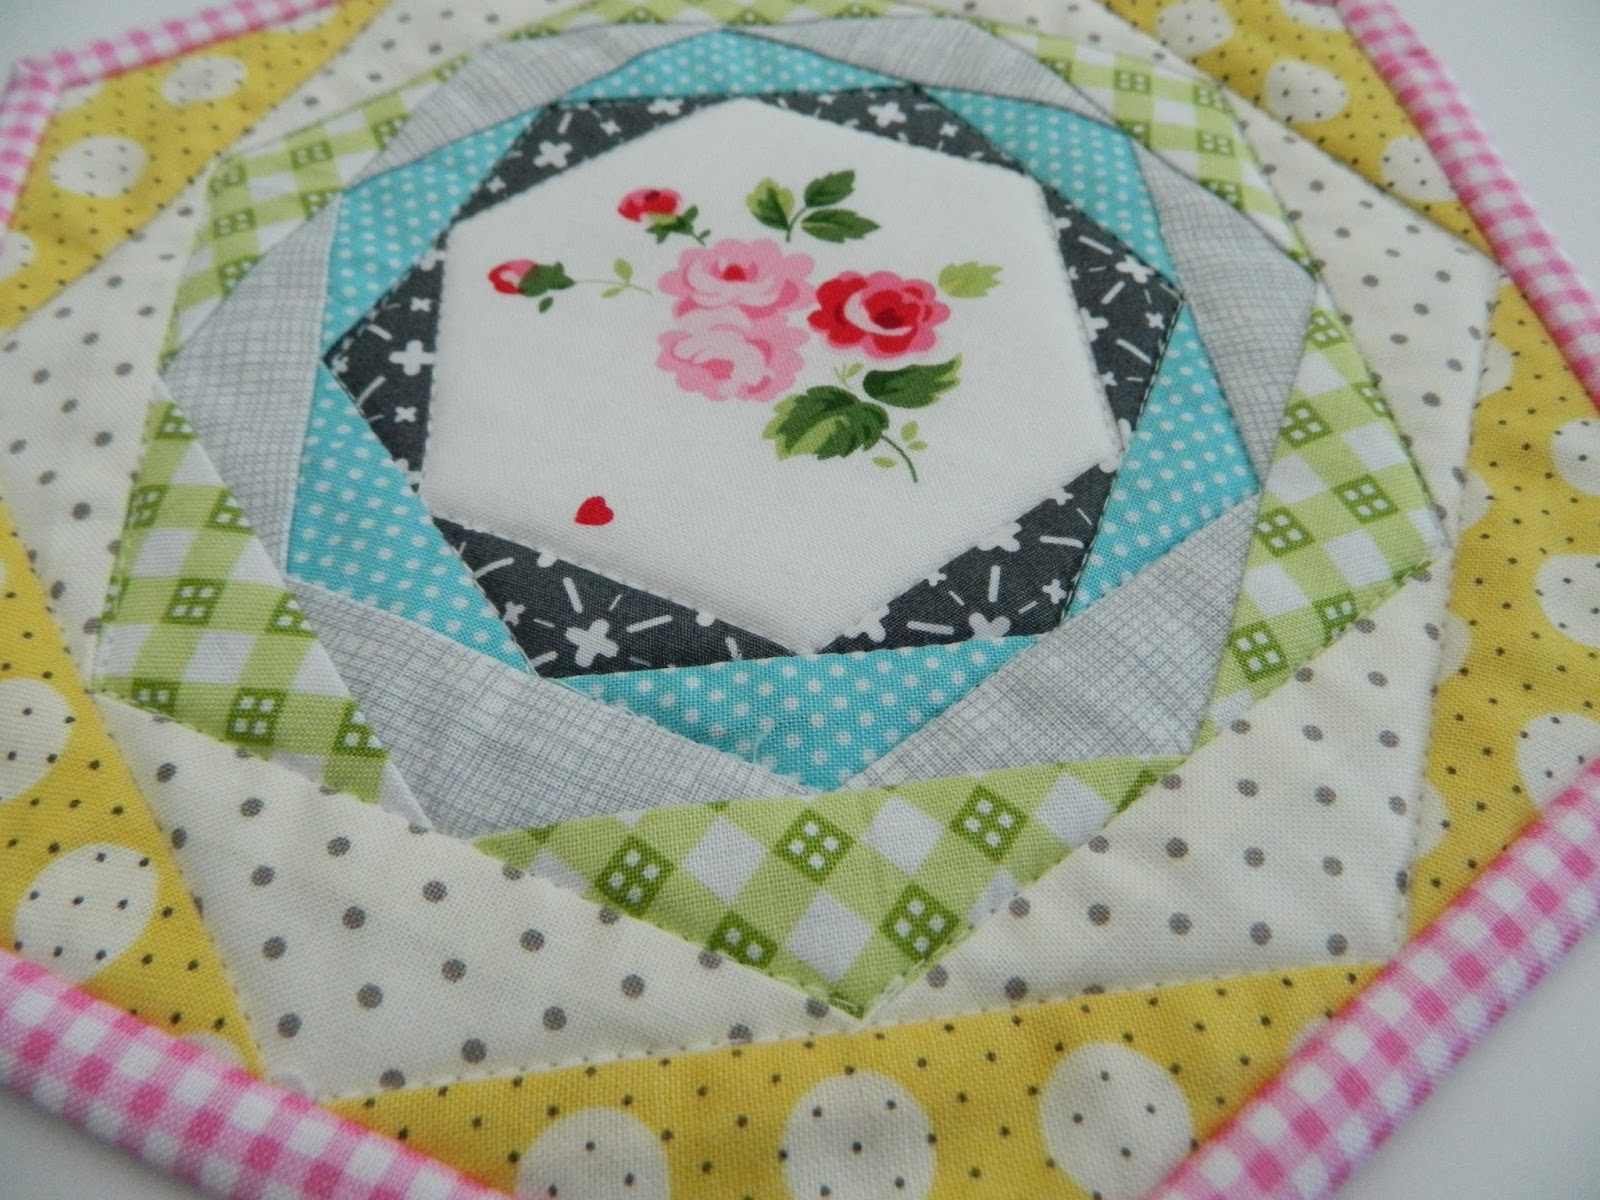
My block was about 14" x 14" in size and the trivet finished at 11.5" in diameter. You can, however use different sized block of patchwork.


Baste two layers of Insulbright to the wrong side of your patchwork and quilt any way you like.


Find a round object the size you'd like your trivet to be (I used a pretty large lid) and trace around it.


Stitch very close to the inside of the traced line to insure your quilting stitches will be secure once the circle shape is cut out. Use scissors to cut along the traced line.


Cut out the same size of a circle from your backing fabric (I used home decor weight fabric to make it more sturdy). Place on top of each other, right sides together and pin or clip to hold securely together.


Using 1/4" seam allowance, stitch all the way around the circle leaving about 4" opening for turning the trivet right side out.


Clip little notches all the way around the trivet's perimeter, press the seam open.


Turn the trivet right side out through the hole, smooth out the seam with your fingers from the inside, press, and pin (or clip) the opening closed.


Stitch all the way around (using 1/8" seam allowance). Give it one more good press and you're all done.


Any questions? Let me know. 

Svetlana

small finishes

I've been about small finishes lately. It's really hot outside and that might be the reason I keep ignoring my large quilty projects and working on smaller things instead. Plus, the instant gratification is hard to resist :)


I made yet another one of Ayumi's fantastic trivets (this one is #3 for me).


I added one more row of triangular border (the dark one) to make the inside hexagon smaller than the original one, and I just adore how perfectly that flower fits right in.


More pretty flowers on the back, of course :)

 I just remembered I never showed you my trivet #2, oops! Here it is.


This one is for my MIL. She helped me choose all the fabrics and I love how the finished trivet reflects her sense of style.


Oh, and I made this very simple baby boy quilt. It's just two rows of blue/ gray/ black scraps joined together with some Kona I had on hand. It was inspired by this lovely quilt and must have been the quickest quilt I have ever made.


Thanks for stopping by. Hope you all have a very lovely day. Svetlana

paper piecing

I've been into paper piecing lately. And while I worked mostly on epp hexie flowers, I decided to change things up a little bit and dab into some foundation paper piecing.


I just love how this sweet Happy Hexagon Trivet from Ayumi's Patchwork, Please! book turned out. It was such a fun little project and I got to play with my scraps, too. Totally a win - win combination.


The thing I probably like the most about foundation paper piecing is that all the points turn out perfectly pointy. Love, love, love!!!


Here's the back of my trivet. I was a little worried about the binding as I have never bound a hexagon shaped anything beofre, but Ayumi gave such great instructions in her book that everything turned out great without any hiccups.


Keeping in with my newfound love for paper piecing, I've also started another epp project - Katy's Spring Carnival. I've had my eye on this pillow for quite some time, but it all seemed so very complicated and I was not sure if my epp skills were up to this challenge.


I was so happy to find out that it was not as scary as it seemed at first, and I'm enjoying working on this pillow a lot. Oh, and it's such a great portable project, too. I made almost the whole flower while waiting for my kids in the pick-up lane this afternoon.

Have a lovely day everyone. Svetlana

Liking up to AmandaJean's Finish it up Friday.
Older Post ►
 

Copyright 2011 sotak handmade. is proudly powered by blogger.com