Showing posts with label nine patch. Show all posts

nine patch placemats {a tutorial}


A few weeks back I made these simple nine patch placemats mostly to practice some new straight line quilting I learned while watching my friend Catherine's DVD.


I adore the combination of this super traditional block and lots of neutral space, I think it makes for such lovely modern placemats. Oh, and using only red and low volume prints for the blocks definitely helps too :).


So, I thought I'd share a quick tutorial in case some of you would like to give these nine patch placemats a try.

♥♥♥
Here's how to make four nine patch placemats.
(use 1/4" seam allowance) 

Materials needed:
24 - 1.5" x 5.5" of red fabric
24 - 1.5" x 5.5" of low volume fabric
1/2 yard background fabric
1/2 yard backing fabric
1/2 yard fabric for binding
1/2 yard batting

Cutting fabric:
from background fabric cut: 12 - 1.5" x 3.5" strips
                                               4 - 3.5'" x 15.5" rectangles
                                               4 - 5.5" x 15.5" rectangles
from backing fabric cut: 4 - 13" x 17" rectangles
from batting of your choice cut: 4 - 13" x 17" rectangles
from binding fabric cut: 6 strips 2.25" x width of fabric

24 - 1.5" x 5.5" strips of red fabric
24 - 1.5" x 5.5" strips of low volume fabric

Assembly:
Step 1: Make 16 nine patch blocks following my tutorial for tiny nine patch blocks.

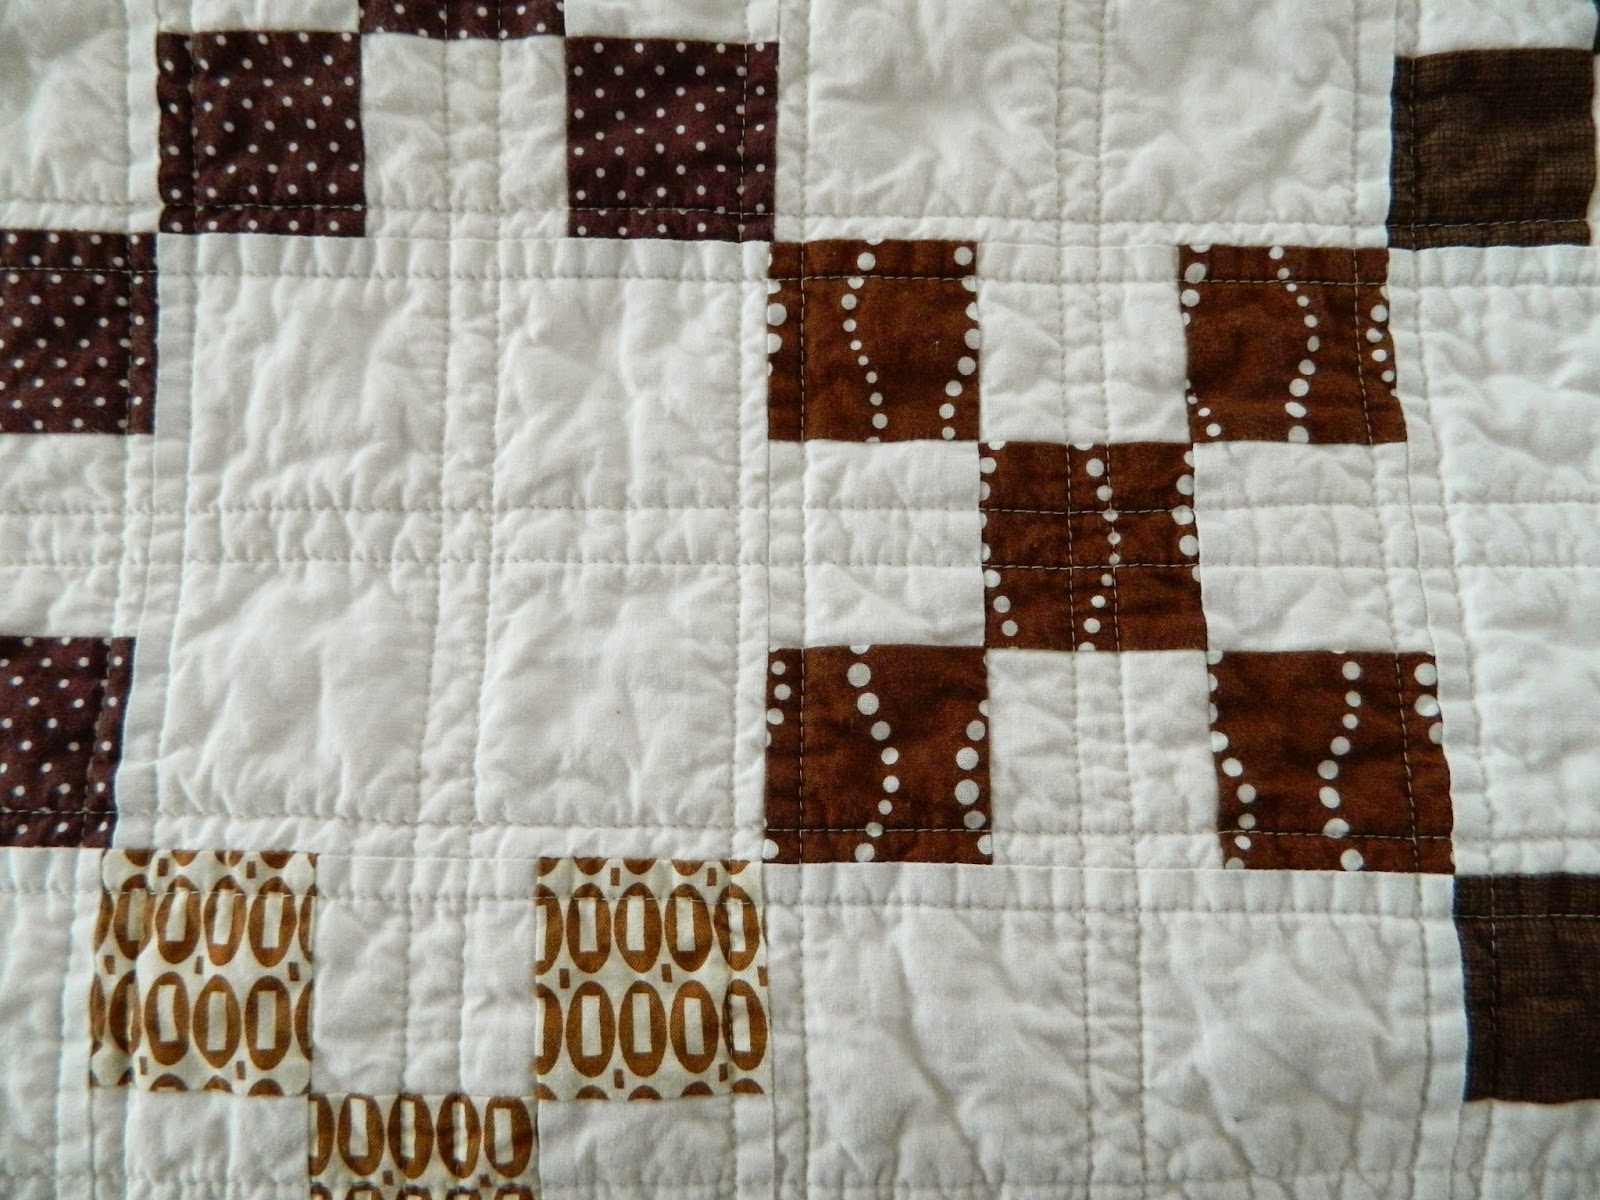
Step 2: Arrange four blocks and three strips of 1.5" x 3" background fabric for each placemat (as shown in the picture below). Stitch together to form one continuous strip of patchwork. Press the seams.

Step 3: Sandwich strip of patchwork between one 3.5" x 15.5" and one 5.5" x 15.5" as pictured, stitch all three parts together and press the seams.

Step 4: Assemble all four placemat tops, they each should finish at 11.5" x 15.5".

Step 5: Make four quilt sandwiches by placing backing fabric (wrong side up) on  a flat surface, place batting on top and then placemat top (right side up). Baste together using either pins or basting spray.

Step 6: Quilt as desired.

Step 7: Square and trim the placemats. Make binding the way you would for a quilt, attach to each placemat.

Step 8: Trim all the stray threads and you're finished. 

Hope you find this tutorial useful.

And, as always, if you make a project using any of my tutorials please add it to my Flickr group. I always enjoy seeing all your amazing creations.

 Svetlana

b-r-o-w-n {a finished quilt}


b-r-o-w-n is finished!! And to my great surprise I don't hate it. In fact, I quite like it ;). I like its simplicity and that sort of old - timey feel.


I did simple straight line quilting along each seam line and through the middle of the blocks in hopes that it will draw the eye to the whole chain pattern rather than pinpoint separate 9-patches. I think it worked :)


Funny, last time I talked about not liking brown and orange together in a project and then I went ahead and pieced this backing. Which I like very, very much. I probably like the back even more thank the front :)

Finished size of this quilt is 50" x 61". I think this is a great size for a lap quilt and can't wait to gift it to a very special lady.

Svetlana

b-r-o-w-n

Hello, happy new year to you all!


New year is such a perfect time to start a new quilt, isn't it? And that's just what I did. Only you know what? I decided to make a BROWN quilt.


Now, I know people have strong feelings about this color (I was actually very surprised by how much positive response I got to a picture of this quilt top on IG). I personally did not think of myself as a "brown liker", but now I'm realizing it really depends on the shade of brown for me ...


...as well as colors used with brown. I still can't see myself combining brown and orange in the same project and actually enjoying it, but I think this combo of different shades of brown and  white, plus a very simple layout works.

My quilt top is all finished and now it's on to making a quilt back - one of my new year's resolutions is to use up more of my stash to make quilt backs instead of taking an easy way out and buying sheets :).

Hope your new year is off to a good start too. Svetlana
Detail: b-r-o-w-n

works in progress

I used to be very good about finishing one project before allowing myself to start a new one. Then I found out that I prefer working on two or three projects at a time just to keep things from getting boring and tedious. Lately, however, it all spiraled out of control and I have been starting way more projects than I could possibly finish without everything piling up.

I'm thinking a list of my wips would be a good way to start tackling the backlog. Here we go.

My number one priority is finishing up this liberated baskets quilt. These beautiful springy colors and wonky baskets make me smile every time I look at my design wall (which happens a lot, btw).


I need to add a border and I sort of got stuck on that. Not sure whether to piece it from scraps of use strips of single fabric. Any suggestions?


Then there's my Marcelle Medallion. I'm so close to being done with hand quilting her. So, so close, just a few hours of watching some good TV shows and I'll be finished :)


I had a plan for these stars. Then I changed my mind and abandoned these cuties completely. I'm thinking of making a few more stars to make it at least a lap sized quilt. Chances are, though, I might just piece the ones I have and turn it into a baby quilt.


I think these Comma nine patch blocks would make a really nice wall hanging. Should be easy, right? I'll make a few more block adding some pink and blue to the mix and see where that takes me.


And then there's one more baby quilt ready for my fmq practice. Truth be told, I don't feel like doing any fmq drills right now so this quilt might stay in my unfinished pile for quite some time.

So, these are my main wips (I have quite a few pouches, bags, and pillows in the works but that doesn't count, right?). It actually feels good to see them all here as now the list does not seem as daunting as it did a while ago.

OK, off I go to get some sewing done. Hope you all have a very lovely rest of the day. Svetlana

 GRAB A BUTTON

nine patch

Have you ever made a quilt and you can't decide whether you like it or not? It sounds  strange, I know. It's not rocket science to know whether I like something. And I usually do, but with this nine patch quilt I just can't decide.


 I used a lot of Denyse Schmidt fabrics which I like very, very much but I might have mixed too many colors together in this one? What do you think?


But then again, all those many colors together seem to give the quilt this lovely vintage scrappy feel. And I like that. See what I mean?


So, for now I decided I kind of like it and I started my new Comma nine patch blocks using much more controlled and limited range of colors for a change. I'll let you know how that goes once I get more blocks finished.

Thanks for stopping by. Svetlana

Detail: nine patch

w.i.p. s

It's been almost two weeks since my machine broke and still no phone call from the repair guy, grrr! So, to feel sort of productive, I decided to take inventory of my wips and pet them a little.


I love, love, love these nine patch blocks. I'm using Comma by Zen Chic (adore this line of fabric) in combination with different low volume prints. I wanted to turn them into a mini for our bedroom wall but now I'm thinking of adding blue to the mix and making enough blocks for a lap sized quilt.


Another project using some more Comma (can you tell I really like this fabric?), is this improv log cabin quilt. This quilt will be 36" x 36" square, and I'm making it as part of log cabin challenge in our Naperville Modern Quilt Guild.


And then there's this vintage tapestry of sorts my mom sent me. I'm thinking of adding a fabric border and turning it into a wall hanging. Aren't this pattern as well as colors so pretty?

Of course, I have quite a few smaller projects calling my name too, but these three are the main ones and I hope to get to them asap. Fingers crossed that my machine will be "healthy" soon.

Wishing you all a very lovely day. Svetlana

Grab a button
Detail: w.i.p. s
Older Post ►
 

Copyright 2011 sotak handmade. is proudly powered by blogger.com