Showing posts with label christmas. Show all posts

christmas-y this and that

Hello friends, how have you been? 

Thanks to my earlier decision not to make many Christmas presents I've been quite enjoying this festive season. Yay for online shopping and free two - day delivery :)


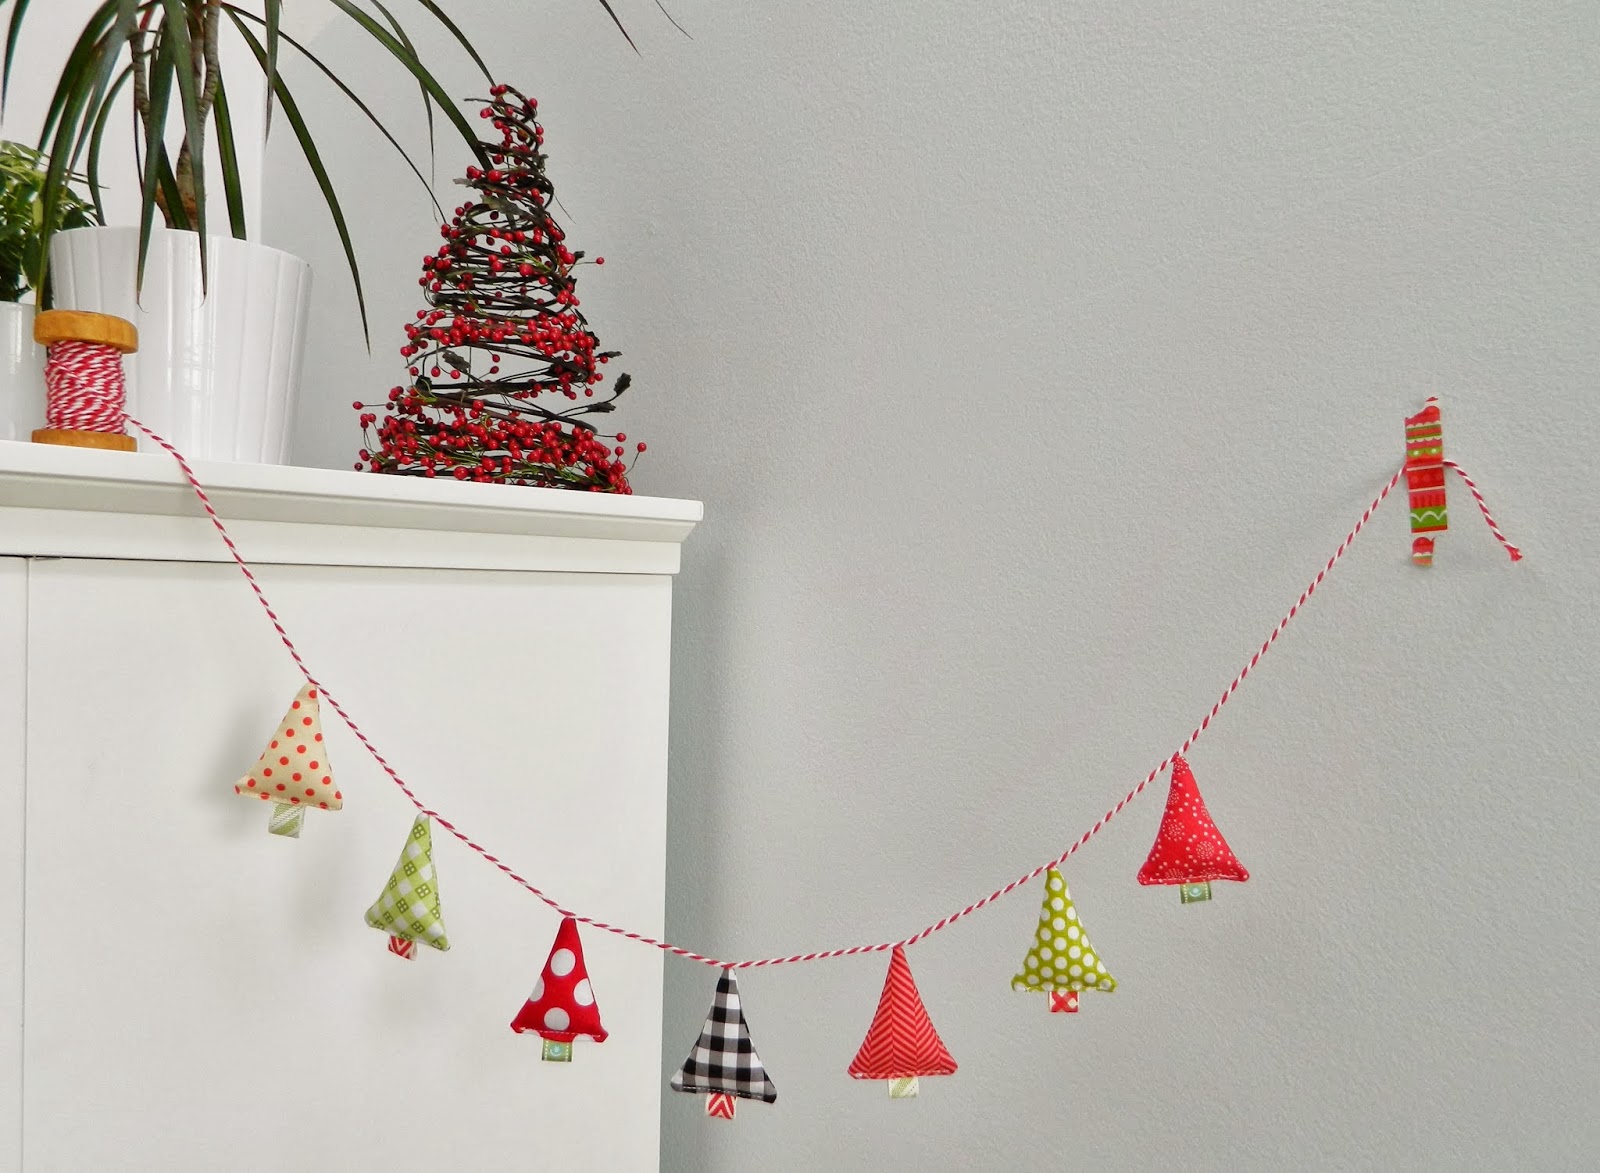
Our super eclectic, sort of homespun-y Christmas decorations make me so happy. By the way, you can find my tutorial for this sweet little tree bunting here.


I've also been enjoying a little bit of sewing. New place mats with tons of straight line quilting were on my mind for days now. I'm so glad to see they are turning out just the way I imagined :).

I'll have a lot more on these place mats and quilting on Friday when it's my stop on Modern Machine Quilting blog hop.


And, the other day I simply had to make this tree block. I love how super minimalistic and modern it looks. I'm thinking of turning it into a mug rug or something like that. Normally I'd think of making it into a pillow cover but lately I've been feeling like we just might have enough pillows for right now. Let's see how long this feeling lasts :)

Hope your Christmas season is merry and bright as well. Svetlana

patchwork comforter {a tutorial}

 Hello friends, thank you so very much for all the lovely comments on my Christmas duvet.


As promised, I'm back with a tutorial so you can make a comforter/ duvet of your own.

Let's start, shall we?

♥♥♥♥♥


Finished size: 66" x 77"  (you can, of course, make your duvet smaller or bigger by simply using less or more 6" patchwork squares)

Materials needed: 168 - 6" squares of medium weight quilting fabric
                              high loft polyester batting (I used Soft and Craft up to 3/4" loft polyester batting)
                              flat/queen sized cotton flat sheet (or 5 yards of fabric if you prefer) for the backing
                              #8 pearl cotton for hand quilting
                              matching thread
                              505 basting spray
                              scissors
                              pins
                              walking foot for your sewing machine (optional)
                              wonder clips (optional)
                              hand sewing needle and thread


Step 1: Arrange your patchwork squares in a pleasing design and assemble the duvet top. Press it to get rid of all the wrinkles.

Step 2: Place batting on a flat surface (my carpeted floor worked beautifully as the batting stuck to the carpet which prevented it from shifting), smooth it out making sure there are no creases or puckers. Put duvet patchwork top on top of batting (duvet top is right side up) and baste.


I used basting spray for this step. I'm sure basting pins would work too if you prefer, but they might make the whole process a bit more tricky.

**Polyester batting does not seem to want to stick to fabric as easily as cotton batting. That's why I sprayed both batting and back of duvet top with 505 spray to help with adhesion. Worked like a charm :)

Step 3: Use scissors to trim batting to the exact same size as the duvet top. Set the batting + duvet top aside for a little bit.


Step 4: Press the sheet/ backing to remove all the wrinkles and place it on a flat surface right side up. Smooth it making sure there are no creases or puckers. Place duvet top+ batting on top of the sheet/ backing (right sides of the top and sheet/ backing are touching). Make sure both parts of duvet are nice and flat, but don't stretch it too much so you don't distort the shape.


Step 5: Pin all the way around duvet holding together all three layers.


Step 6: Take this "duvet sandwich" to your sewing machine and stitch all the way around using 1/2" seam allowance, taking the pins out as you go. Make sure to leave about 10" opening in one of the sides (this opening is for turning duvet right side out).


I prefer to use my walking foot and sew over the batting as this seems to be the best way to avoid bunching and shifting of layers.

Step 7: Trim the backing to match the size of duvet top and batting. Turn the duvet right side out through the opening from the previous step. Push the corners out to make them nice and pointy. Roll the side seams with your fingers to have nicely straight sides. (you could give your duvet a little press here to help with setting the seams, but be very careful not to use iron that's too hot as it can melt the batting)

Step 8: Use pins or wonder clips to hold the opening closed and stitch it using blind stitch. (you can find lots of good tutorials on blind stitch online)


Step 9: At this point my backing was sticking to the batting quite nicely all on its own and I saw no need to do any more basting the layers together. If, however, you feel like your layers are shifting you can very loosely pin baste your duvet to help with keeping things even and straight.

Step 10: Quilt your duvet any way you like. I did hand quilting along the middle of each row and column as well as used my machine to do a few short back and forth stitches where my patches meet.


 Step 11: Give your duvet a nice bath in the washing machine, tumble dry on low and Enjoy!!!


Easy peasy, wasn't it? Hope you enjoyed this tutorial. 

Feel free to contact me if you have any questions. And, as always, I'd love to see your creations. Please add pictures of your finished duvets to my Flickr group (sotak handmade inspired).

Svetlana

christmas duvet {all finished}


I'm so very happy with the way my Christmas duvet (yes, I'm no longer calling it a quilt :)) turned out. 


It's simple (made of 168 - 6" squares) and reminds me of some lovely vintage quilts I spotted online. My duvet, however, was mostly inspired by this adorable baby bunting.


As I mentioned in my previous post, I used 3/4" loft polyester batting and I did minimal hand quilting through the middle of each row and column to keep the duvet as squishy as possible. Oh, and I also did a few short back and forth stitches in each block corner (not pictured here) because my batting needed to be quilted every 2-4".


I used two twin flat sheets for the backing which worked out really great as I only needed to do one long seam and my backing was ready. And yes, a queen sized sheet would have been even better, but I had none on hand.


I also decided not to go with a binding and finish the duvet with turning method (tutorial coming soon). I'm loving these "binding-less" quilts lately, I think it really adds to the homespun look to this duvet.


And here it is, all washed and dried, perfectly soft and snuggly, already claimed by my son as his own :) ♥♥♥

Thanks for reading friends, Svetlana.

Linking up to Finish it up Friday.

christmas quilt/ duvet {in progress}

Hello friends, can you believe it's December already?

Only 22 more sleeps and Christmas is here, yay! I love Christmas. It's my favorite time of the year. And so, when I woke up on Saturday morning with the feeling that I have to start a new quilt or the world as we know it will end :) I knew it had to be a Christmas quilt.


As you can see, I didn't have a huge Christmas fabric collection - I actually prefer just a few of these fun novelty fabrics with the addition of lots of coordinating prints from my stash (I ended up not using that dark blue text print as it stuck out too much).


I have not felt like quilting in months (ever since I had my ankle surgery in September), so I knew going with anything too complicated was out of the question. At the end I cut my fabric into 6" squares and I do really like how "old timey" this quilt top looks :)


As I kept thinking about how to quilt this guy I decided to go more of a duvet route - no binding, super squishy high loft polyester batting, and very minimal quilting. So far I'm loving where this is heading.


I hope to finish handquilting in the next few days and then I'll share a tutorial on how to make this puffy duvet/ quilt. Stay tuned :)

Svetlana

Linking up to Lee's WIP Wednesday.

tiny trees bunting {a tutorial}

A while back I came across this adorable bunting and I knew right away I had to make something similar this Christmas season. I decided to ignore piles and piles of laundry plus other gazillion things I needed to do last night and whipped up this little bunting.


I love how wonderfully whimsical this little bunting is. So perfectly perfect, just the way I imagined it would be.


This was our dining room table last night. For a few tiny little trees on a string I managed to make quite a mess, I must admit :) It was all well worth is, though.


Would you like to make a sweet little tree bunting of your own? I put this quick tutorial together, hope it will come in handy.  

 ♥♥♥♥♥♥♥♥♥♥♥♥♥♥♥♥♥♥♥♥

For each tree you will need two 2.5" x 3" rectangles of fabric, 1.5" ribbon for the trunk, and a bit of polyester fiberfill.


First cut your main triangle shapes by placing your fabric rectangles on top of each other on the cutting mat and finding the middle of the top 2.5" side. Put a little mark there and cut along both sides as shown in the picture. Triangle in the middle is your tree body. 


Place both your triangles right sides together and stitch all the way around, leaving about 1" opening on the bottom for turning. (See the two purple marks? that's where the opening is)

Press, trim the corners, turn right side out through the hole in the bottom, push all the corners out to make them nice and pointy (I used crochet hook to help with this step), and stuff with fiberfill.


Fold the ribbon in half and insert inside the opening. Make sure your "trunk" is straight, pin in place and stitch the opening closed.


Easy peasy, wasn't it? Once you make as many trees as you like ( I made 7 for my bunting) attach them to bakers twine using tiny stitches, placing your trees about 3" apart from each other.


 All you need to do now is find a perfect place for your new bunting, put your feet up and admire :)


 Hope you enjoyed this tutorial.
Please let me know if you have any questions and thank you for stopping by. Svetlana

christmas patchwork table runner {a tutorial}

You know how I was planning on making a small Christmas bunting the other day? No, did not happen :( Time seems to be getting away from me way too fast these days.


I did, however, manage to pull out most of our Christmas decorations and "deck the halls". And, I came across this patchwork table runner I made last year for Ellison Lane Quilts' Deck the Halls. Somehow, I totally forgot to share this tutorial on my blog before, so here it goes now. Enjoy.


Supplies needed:
1/2 yard solid fabric for the top of your runner
Christmas colored scraps of fabric, enough to cut out 56 - 2" squares
1/2 yard fabric for the backing
19" x 45" piece of batting
1/8 yard fabric for the binding

Finished size of the runner is 15 3/4" x 41".

Step 1 - cutting
~ From your solid fabric cut out:
          2- 4.5" x 15 3/4" strips
          1- 2.5" x 15 3/4" strip
          4- 3.5" x 16" strips
          2- 6 3/4" x 13" rectangles
~ You also need to cut out 56- 2" squares from your colored scraps.

Step 2 - assembling a patchwork block 


 Take 28 - 2" squares, and arrange then into 4 rows (2 rows of 8, 2 rows of 6).


Stitch the rows together using a scant 1/4" seam allowance, press the seams.


 Now that all 4 rows of patchwork squares are stitched together, let's assemble the block. Take your
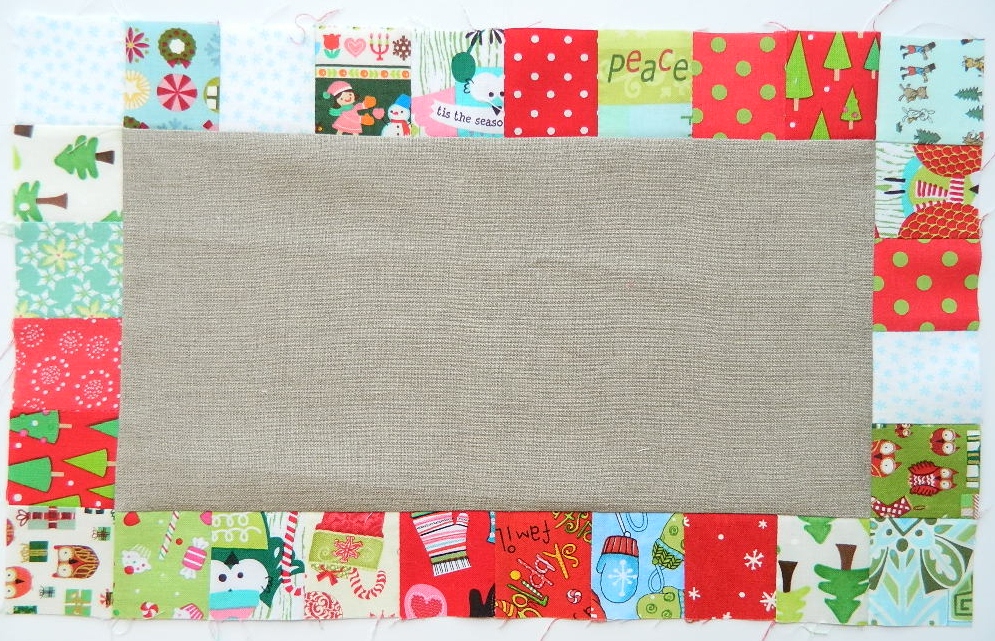
6 3/4"x 13" solid rectangle and arrange your patchwork rows around the solid fabric as shown in the picture. You can play around until you find the way that pleases you the most, I made all my directional prints pointing towards the center.


Start with the longer rows first, pin (I had to use lots of pins since I was working with a very shifty linen),  and stitch in place.


Press the seams, I pressed mine towards the solid fabric. If, however, you're using a white or other light colored fabric for the middle, you might want to press the seams towards the patchwork.


Now attach the shorter rows, using the same technique.
 

Press, and voila!!! One patchwork block is finished.

Step 3 - assembling second patchwork block

Repeat step 2 to make a second patchwork block using remaining 28 - 2" squares and  a 6 3/4" x 13" solid rectangle.

Step 4 - assembling the table runner


Take one 3.5" x 16" strip of solid fabric and attach it to the 16" side of your patchwork block. It's a good idea to use lots of pins to make sure everything lines up nicely.

 Attach the second 3.5" x 16" solid rectangle to the other 16" side of your patchwork block.


This is what your block will look like. Take the other patchwork block and the two remaining 3.5" x 16" strips of solid fabric and attach them together the same way you did with the first block.

Sew the two main patchwork blocks together using the 2.5" x 15 3/4" strip of solid fabric. Once you have your two patchwork blocks joint together, sew the two 4.5" x 15 3/4" rectangles to the sides of the patchwork blocks and your table runner top is all finished. This is what it will look like.


Step 5 - basting and quilting


 Make a quilt sandwich using your table runner top, batting, and backing. Quilt any way you like,  I quilted mine with straight lines about 1/4" apart.

Step 6 - attach the binding on


Cut your binding at 2 1/4" wide, fold in half and bind your table runner the same way you would a quilt.

Step 7 - admire your lovely Christmas table runner


Congratulations, you're done. Now, wasn't that easy? I hope you'll enjoy making your own table runner.

Wishing you all a very lovely day. Svetlana

tis the season ...

I love Christmas season. Love, love, love!!!


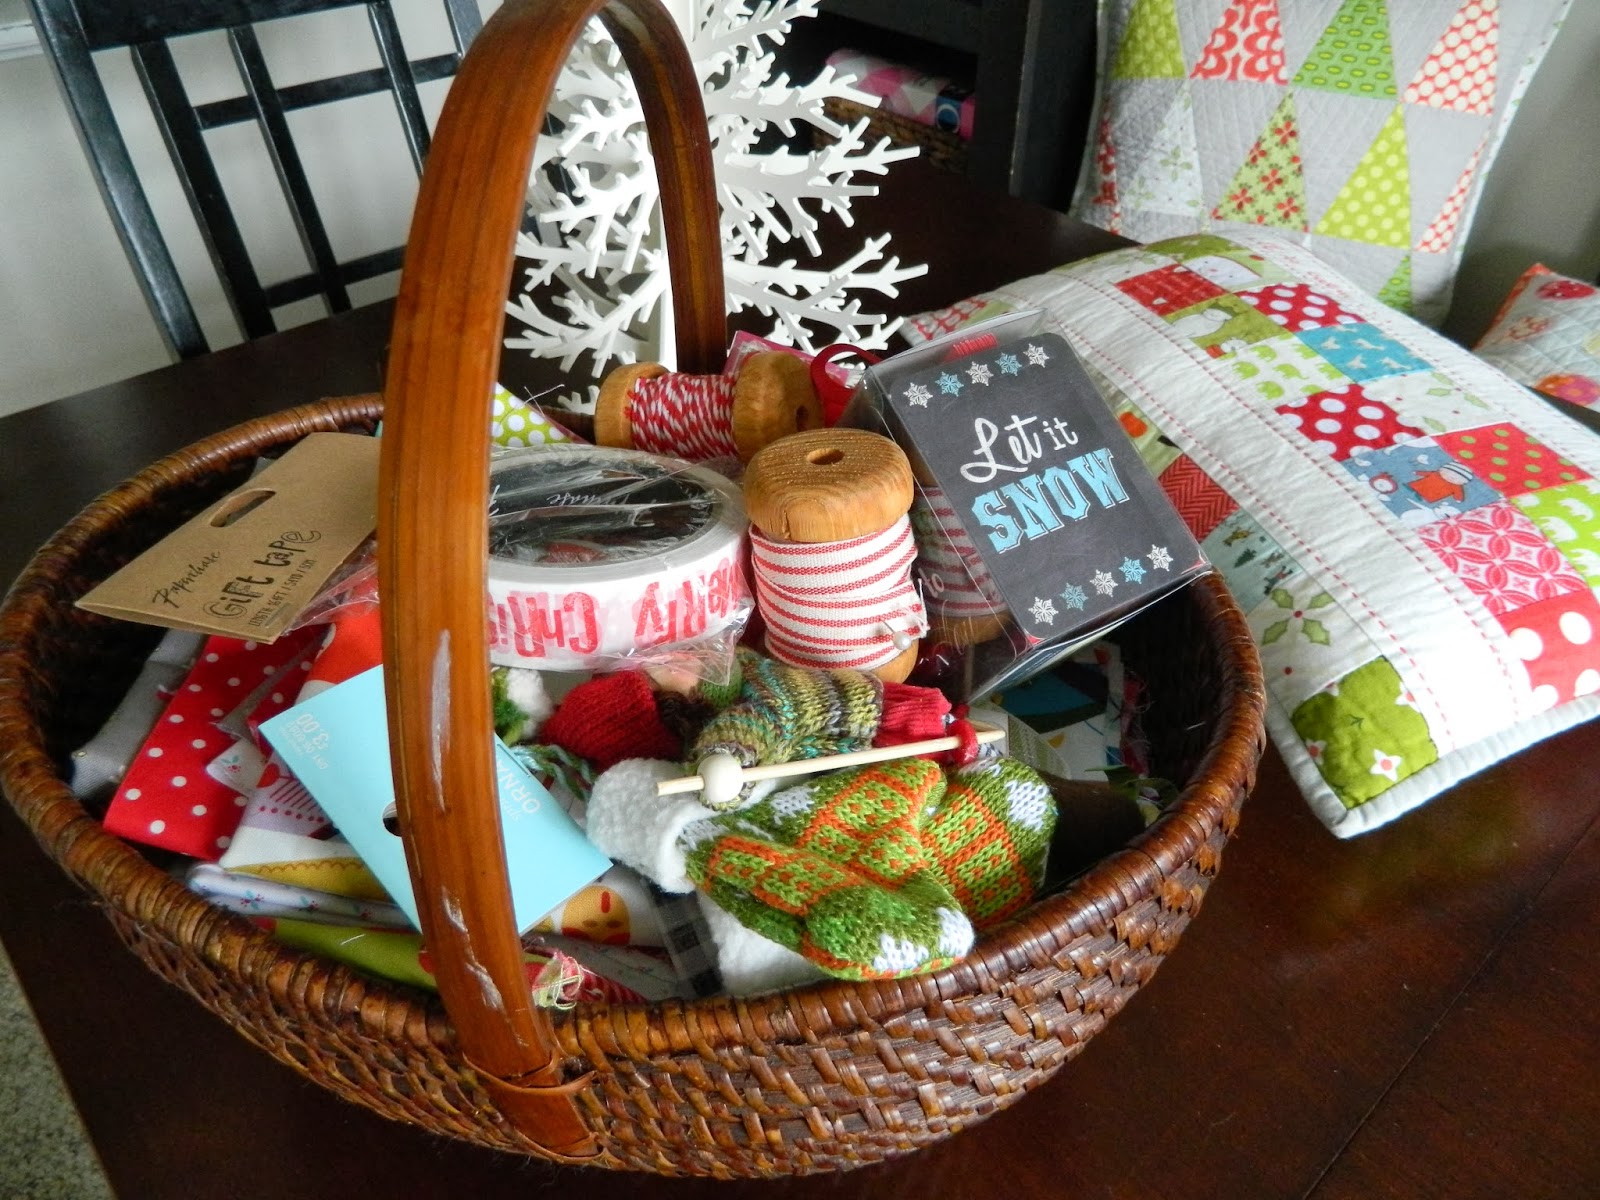
I'm hoping to make a small Christmas bunting tonight. It's been on my mind for way too long and as you can see my basket of supplies is sort of overflowing. Should be fun :)

birdies

I was into making little bird ornaments in the last few days. 

 
Major birdie making, as you can see. It was a perfect way to use up some of those very last precious scraps :)


I actually made 43 birdies all together. So yeah, I'm about as "birdied out" as one can be.


But, they are fun to make and I would highly recommend giving these cuties a try (tutorial here).

Hope you have a very lovely rest of the day. Svetlana
Detail: birdies
Older Post ►
 

Copyright 2011 sotak handmade. is proudly powered by blogger.com